THE STEPS OF DIAGNOSING A HIDDEN PLUMBING LEAK
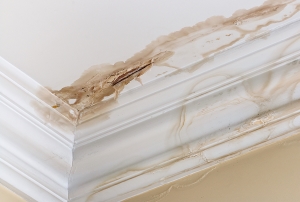
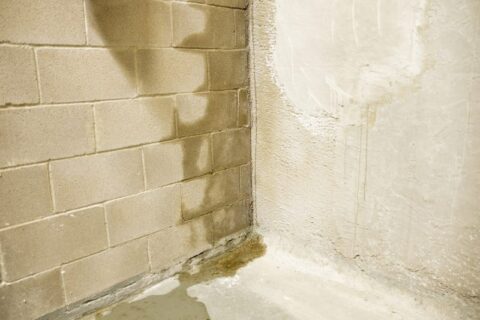
 Leaky pipes can quickly lead to a wide array of problems such as elevated energy bills, severe water damage, and a flooded basement. If they are not addressed, these problems can eventually have you calling for mold removal in Baltimore. You can only repair a leak after you identify it, and some leaks are more difficult to detect than others. Keep reading if you would like to take a look at the steps of diagnosing a hidden plumbing leak.
Toilet Test
You may suspect that you have a leak somewhere in your house because your water bills are increasing for no apparent reason. The good news is that this suspicion is the first step in solving the problem; the bad news is that you now have to find the leak. As long as you handle this situation systematically, you should be able to find the leak and direct your local plumber to its location. Start by adding a couple of drops of food coloring to your toilet tank and coming back in 10 minutes. You can confirm that your toilet has a leak if the food coloring has dyed the water in the bowl; this could be due to a faulty flapper or ball float. Repeat this process for each toilet in the home.
Water Flow Indicator
If this test did not point towards any of your toilets being the culprit but you are still convinced that there is an issue, turn off all of your appliances that use water and take a look at your water flow indicator. This indicator is typically near your main water shutoff valve and will describe how much water is being used. Since you turned all of your water-based appliances off, the meter should not be running.
Process of Elimination
After you have turned off your appliances and checked your indicator, turn off the water supply to each device. Once you turn off the device associated with the leak, the meter will stop running. If the meter continues to run after you have turned off the water supply to each appliance, the leak is likely in the water main.


